
Around this time of year, you probably see plenty of posts on social media sharing pictures of the Northern Lights, or “aurora borealis.” Then, you may step outside and realize your vision is nothing at all like what you see online. While most of the time these are taken by professional cameras, it’s also a lot easier than you think to take pictures that show stunning colours with just a few easy tricks on your cell phone! We had a huge “solar storm” a few nights ago, and while the cloud coverage was high, I’m hopeful for more of these storms and chances to take pictures! In this post, I’m going to teach you how to be prepared for the next time you get word of a “good night.” What are my credentials? Keep scrolling to see the pics I’ve taken on my iPhone.
First thing’s first, find a very dark area. On nights where the “kp index” is very strong, you can capture the lights even in an urban setting where there are lots of lights, but generally, the less light the better. This includes the moon. If you’re able to drive out of the city a little bit to a more rural area, that works best! All of the pictures I’m going to show here, unless otherwise mentioned, are taken in the SAME SPOT from my front yard.
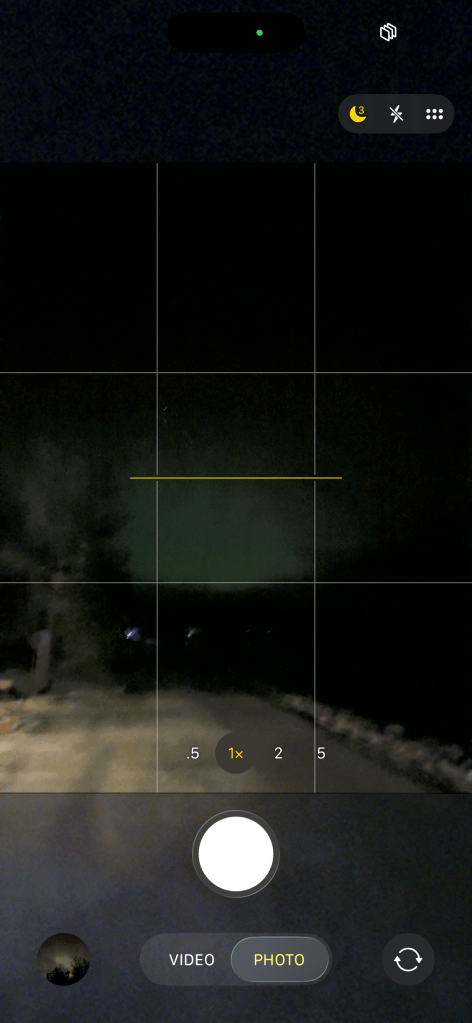
Now you’re ready to whip out that camera. I have an iPhone 15 Pro Max, but any make, model, whatever, with a long exposure option will work. We are not using flash here! I like to set my long-exposure to at least ten seconds if I’m using a tripod or prop (like a water bottle lol), but just three seconds if I’m holding my phone. The long exposure setting is that little moon shape in the top right corner. The longer the exposure, the longer the camera has to be still. If the camera moves too much while the picture is being taken, the lights will be blurry and you won’t get those awesome pillars! Once you’ve found your ideal settings, stay still and take your picture! My phone does a countdown once I’ve clicked the button, so I know when the picture is done being taken.
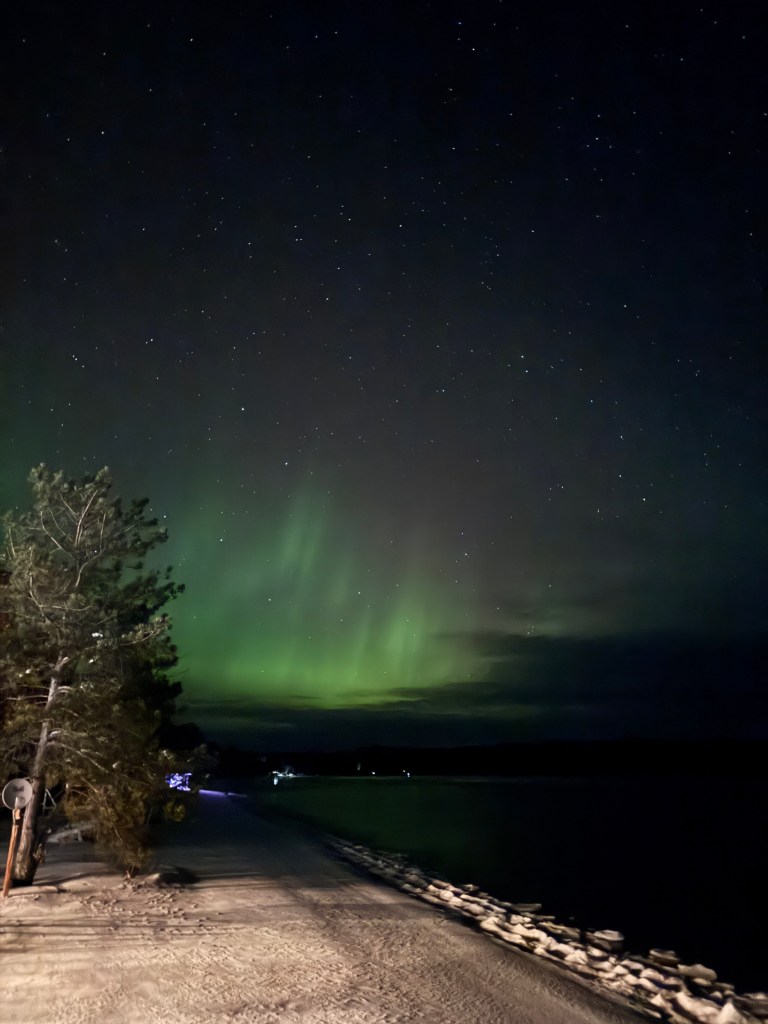
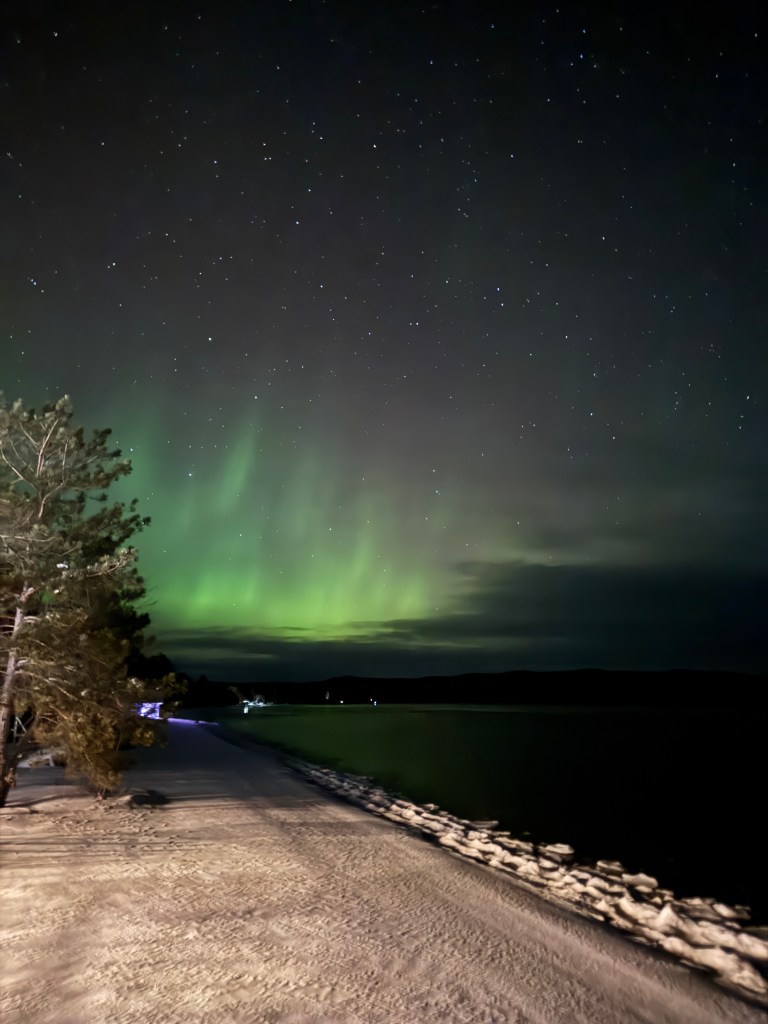
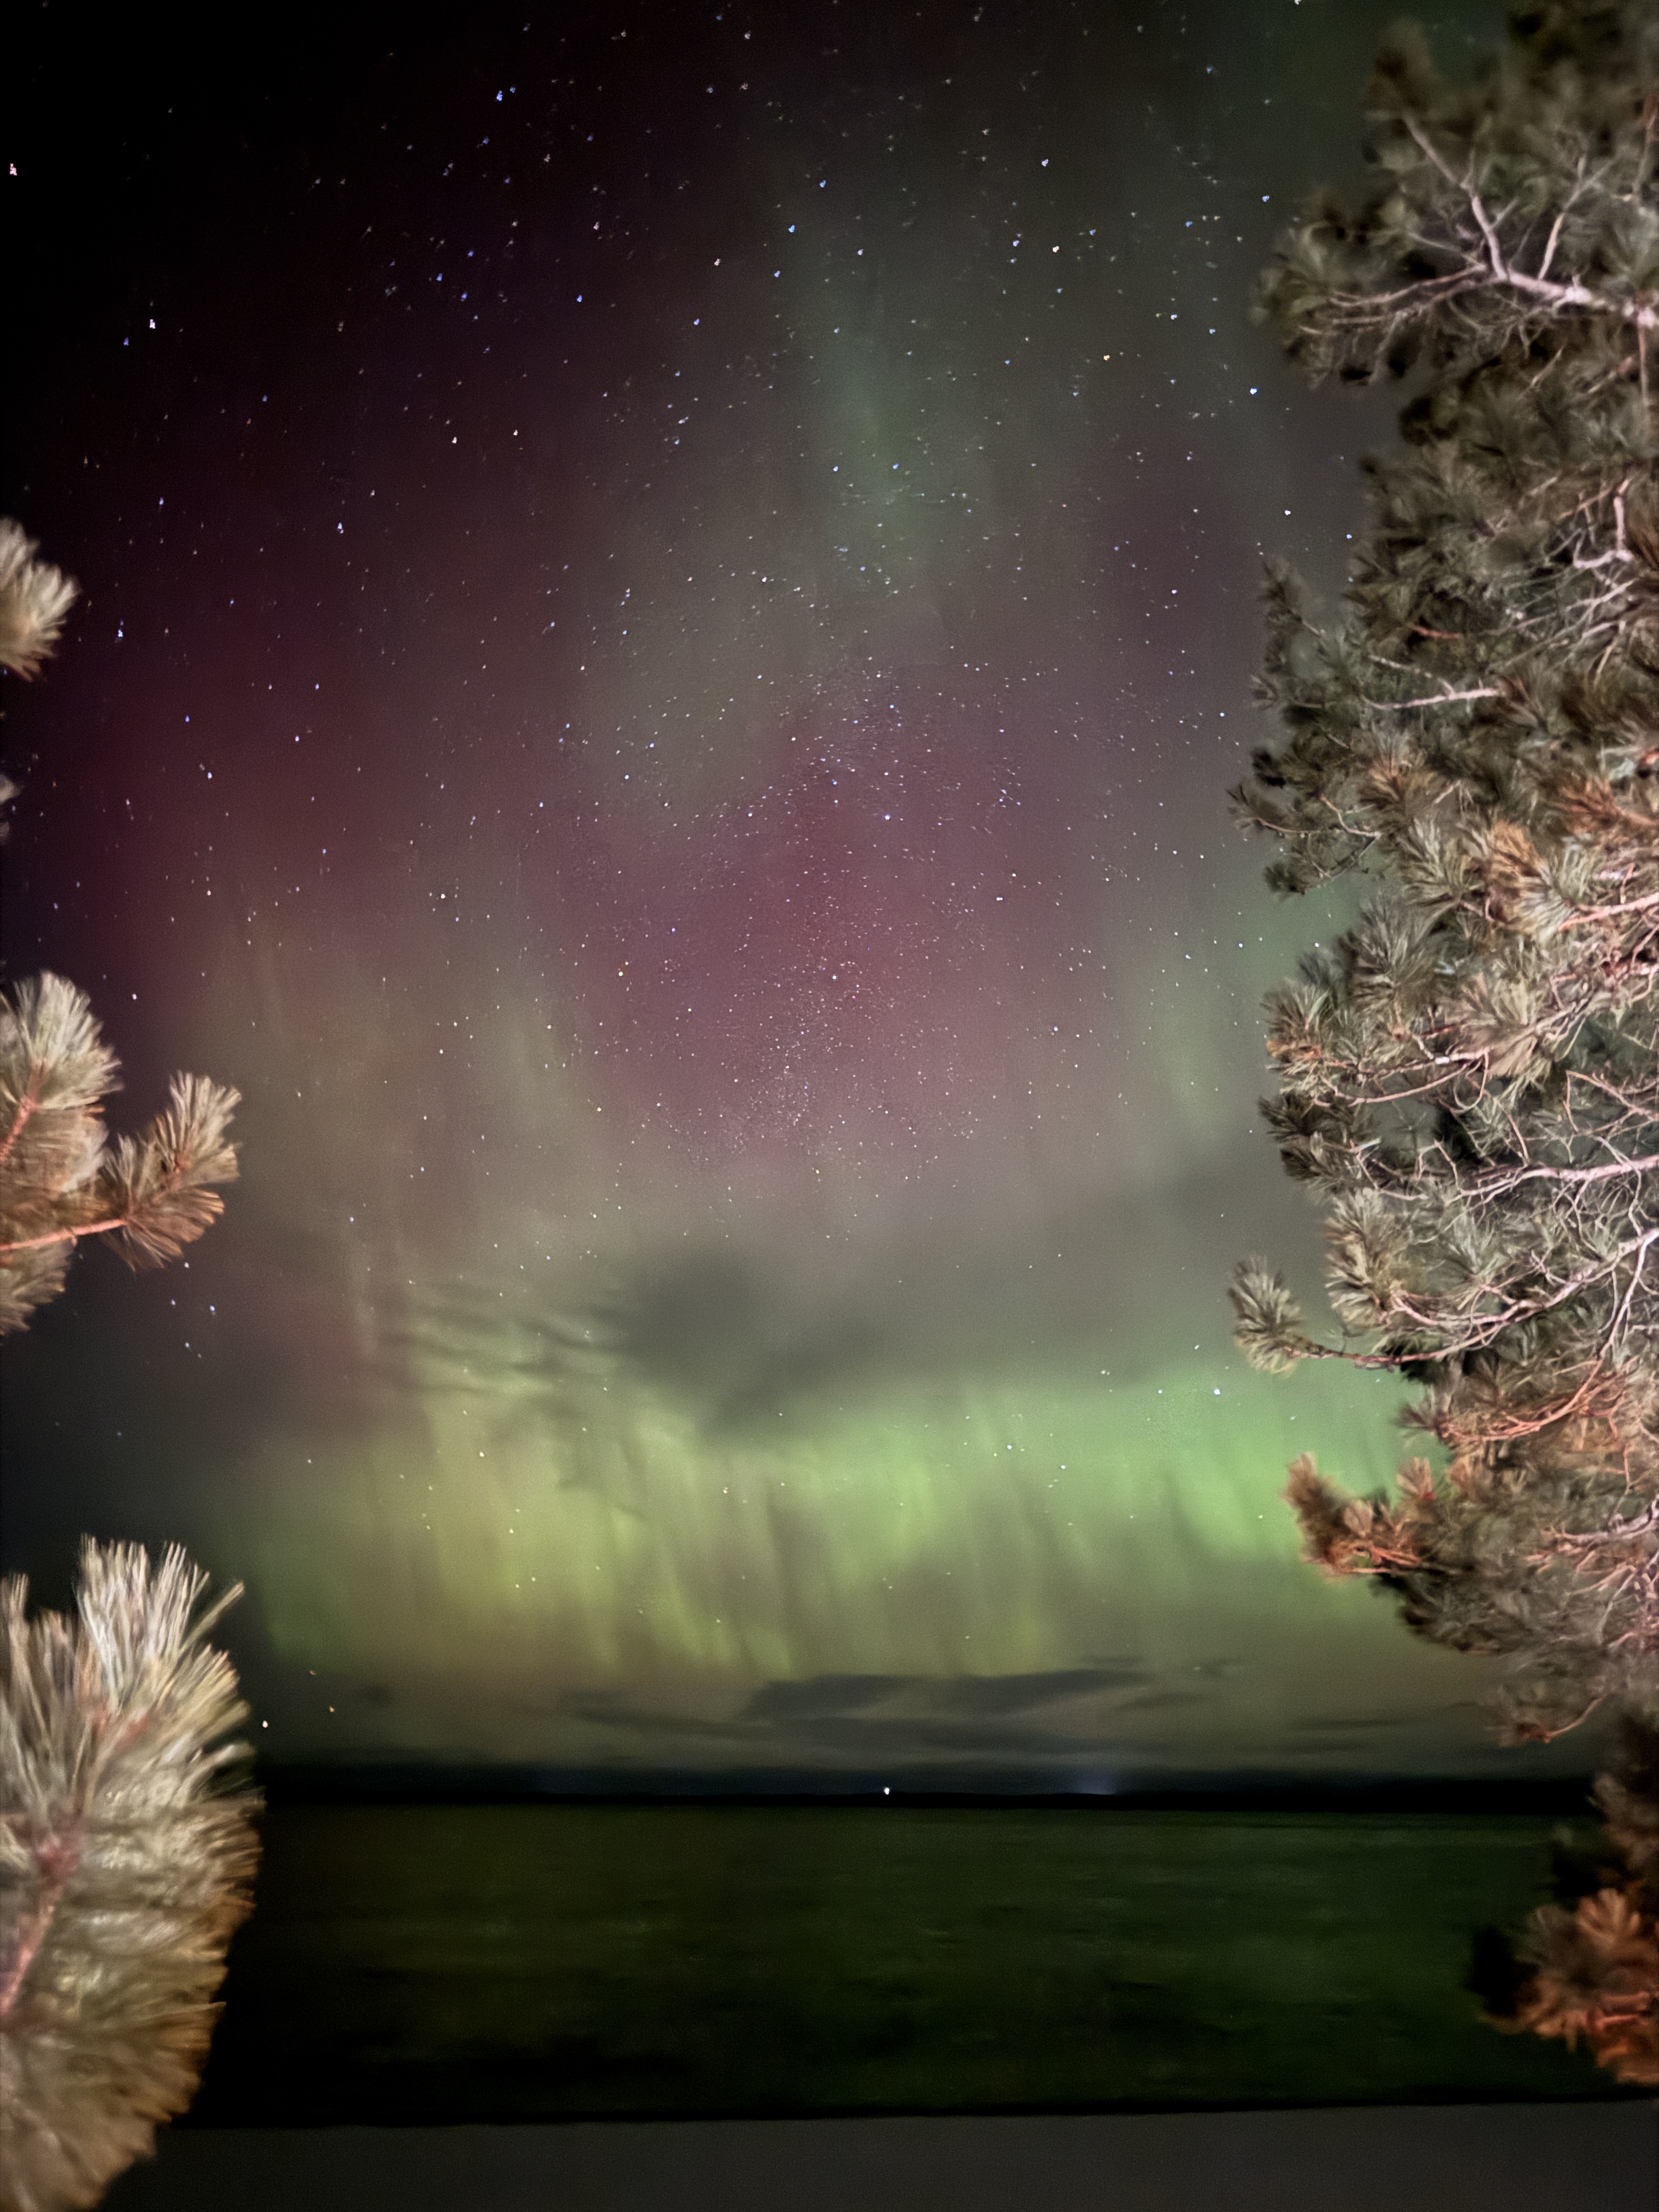
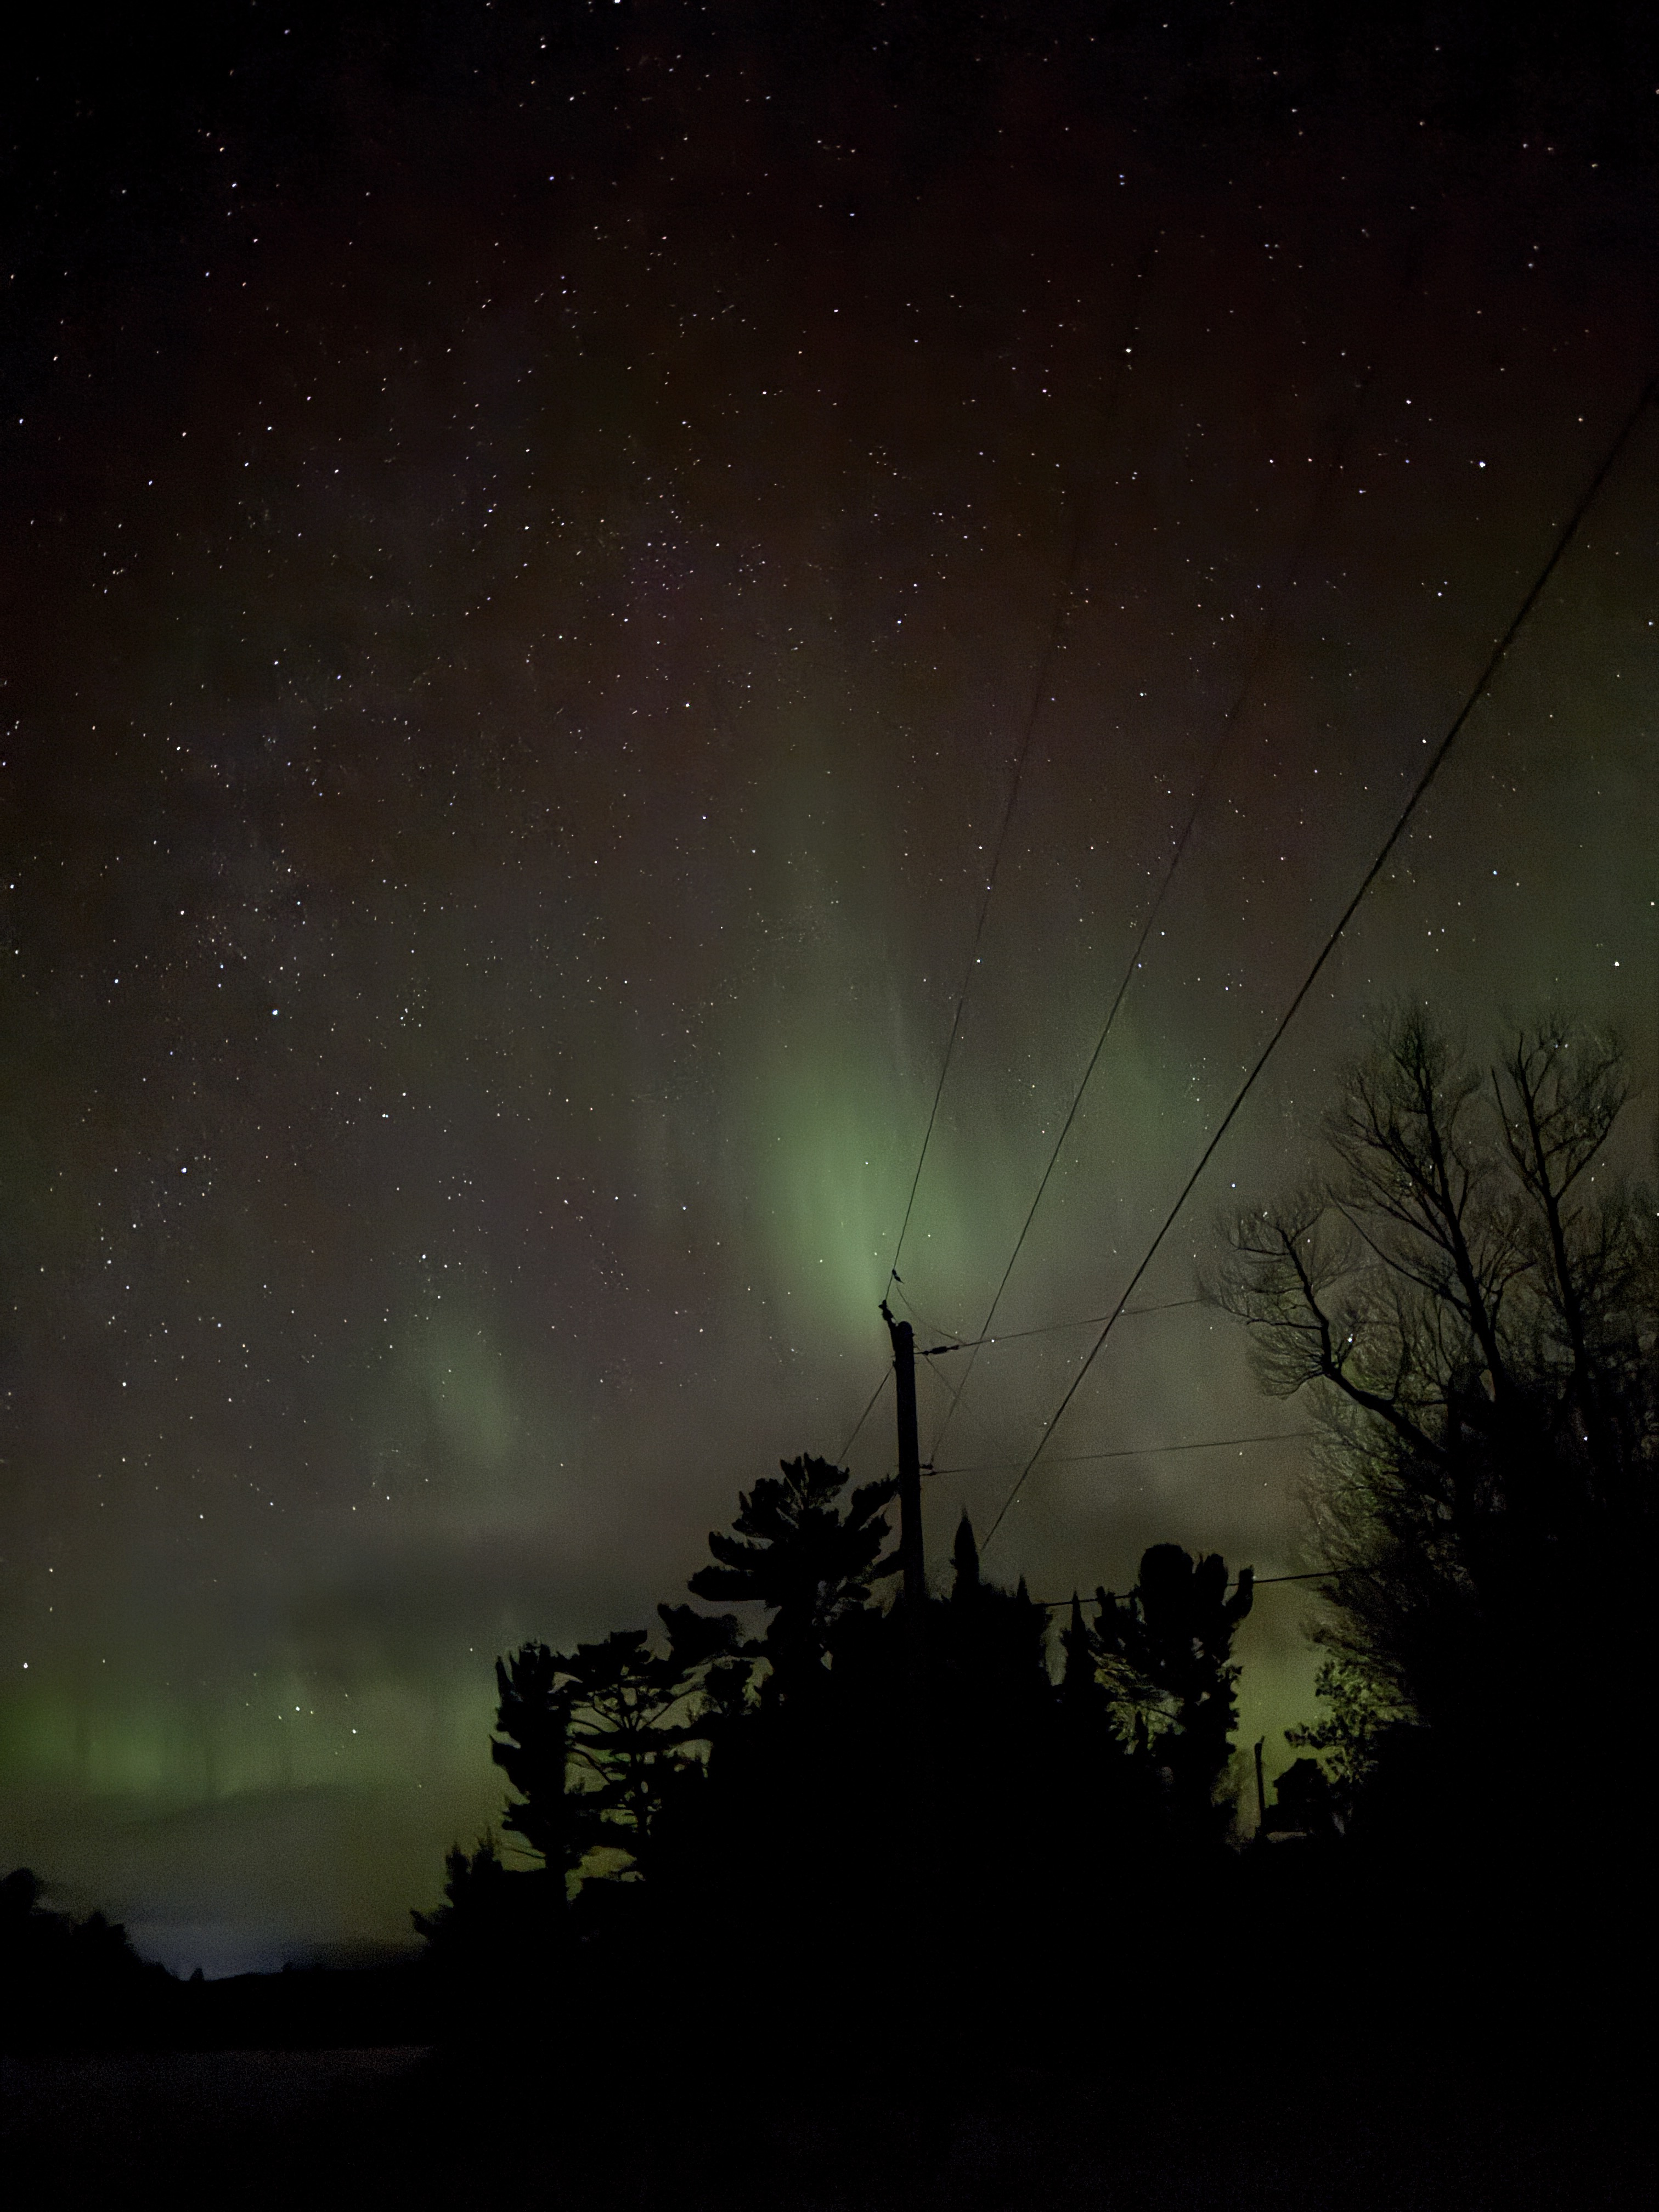
Et voila! The picture on the left (top) is with a three-second exposure, and the one on the right (bottom) is with a ten-second exposure. As you can see, the pic with the longer exposure lets in a whole lot more light. In this case I actually find I like the three-second pic better, as it doesn’t take in as much of the light that came from my house.
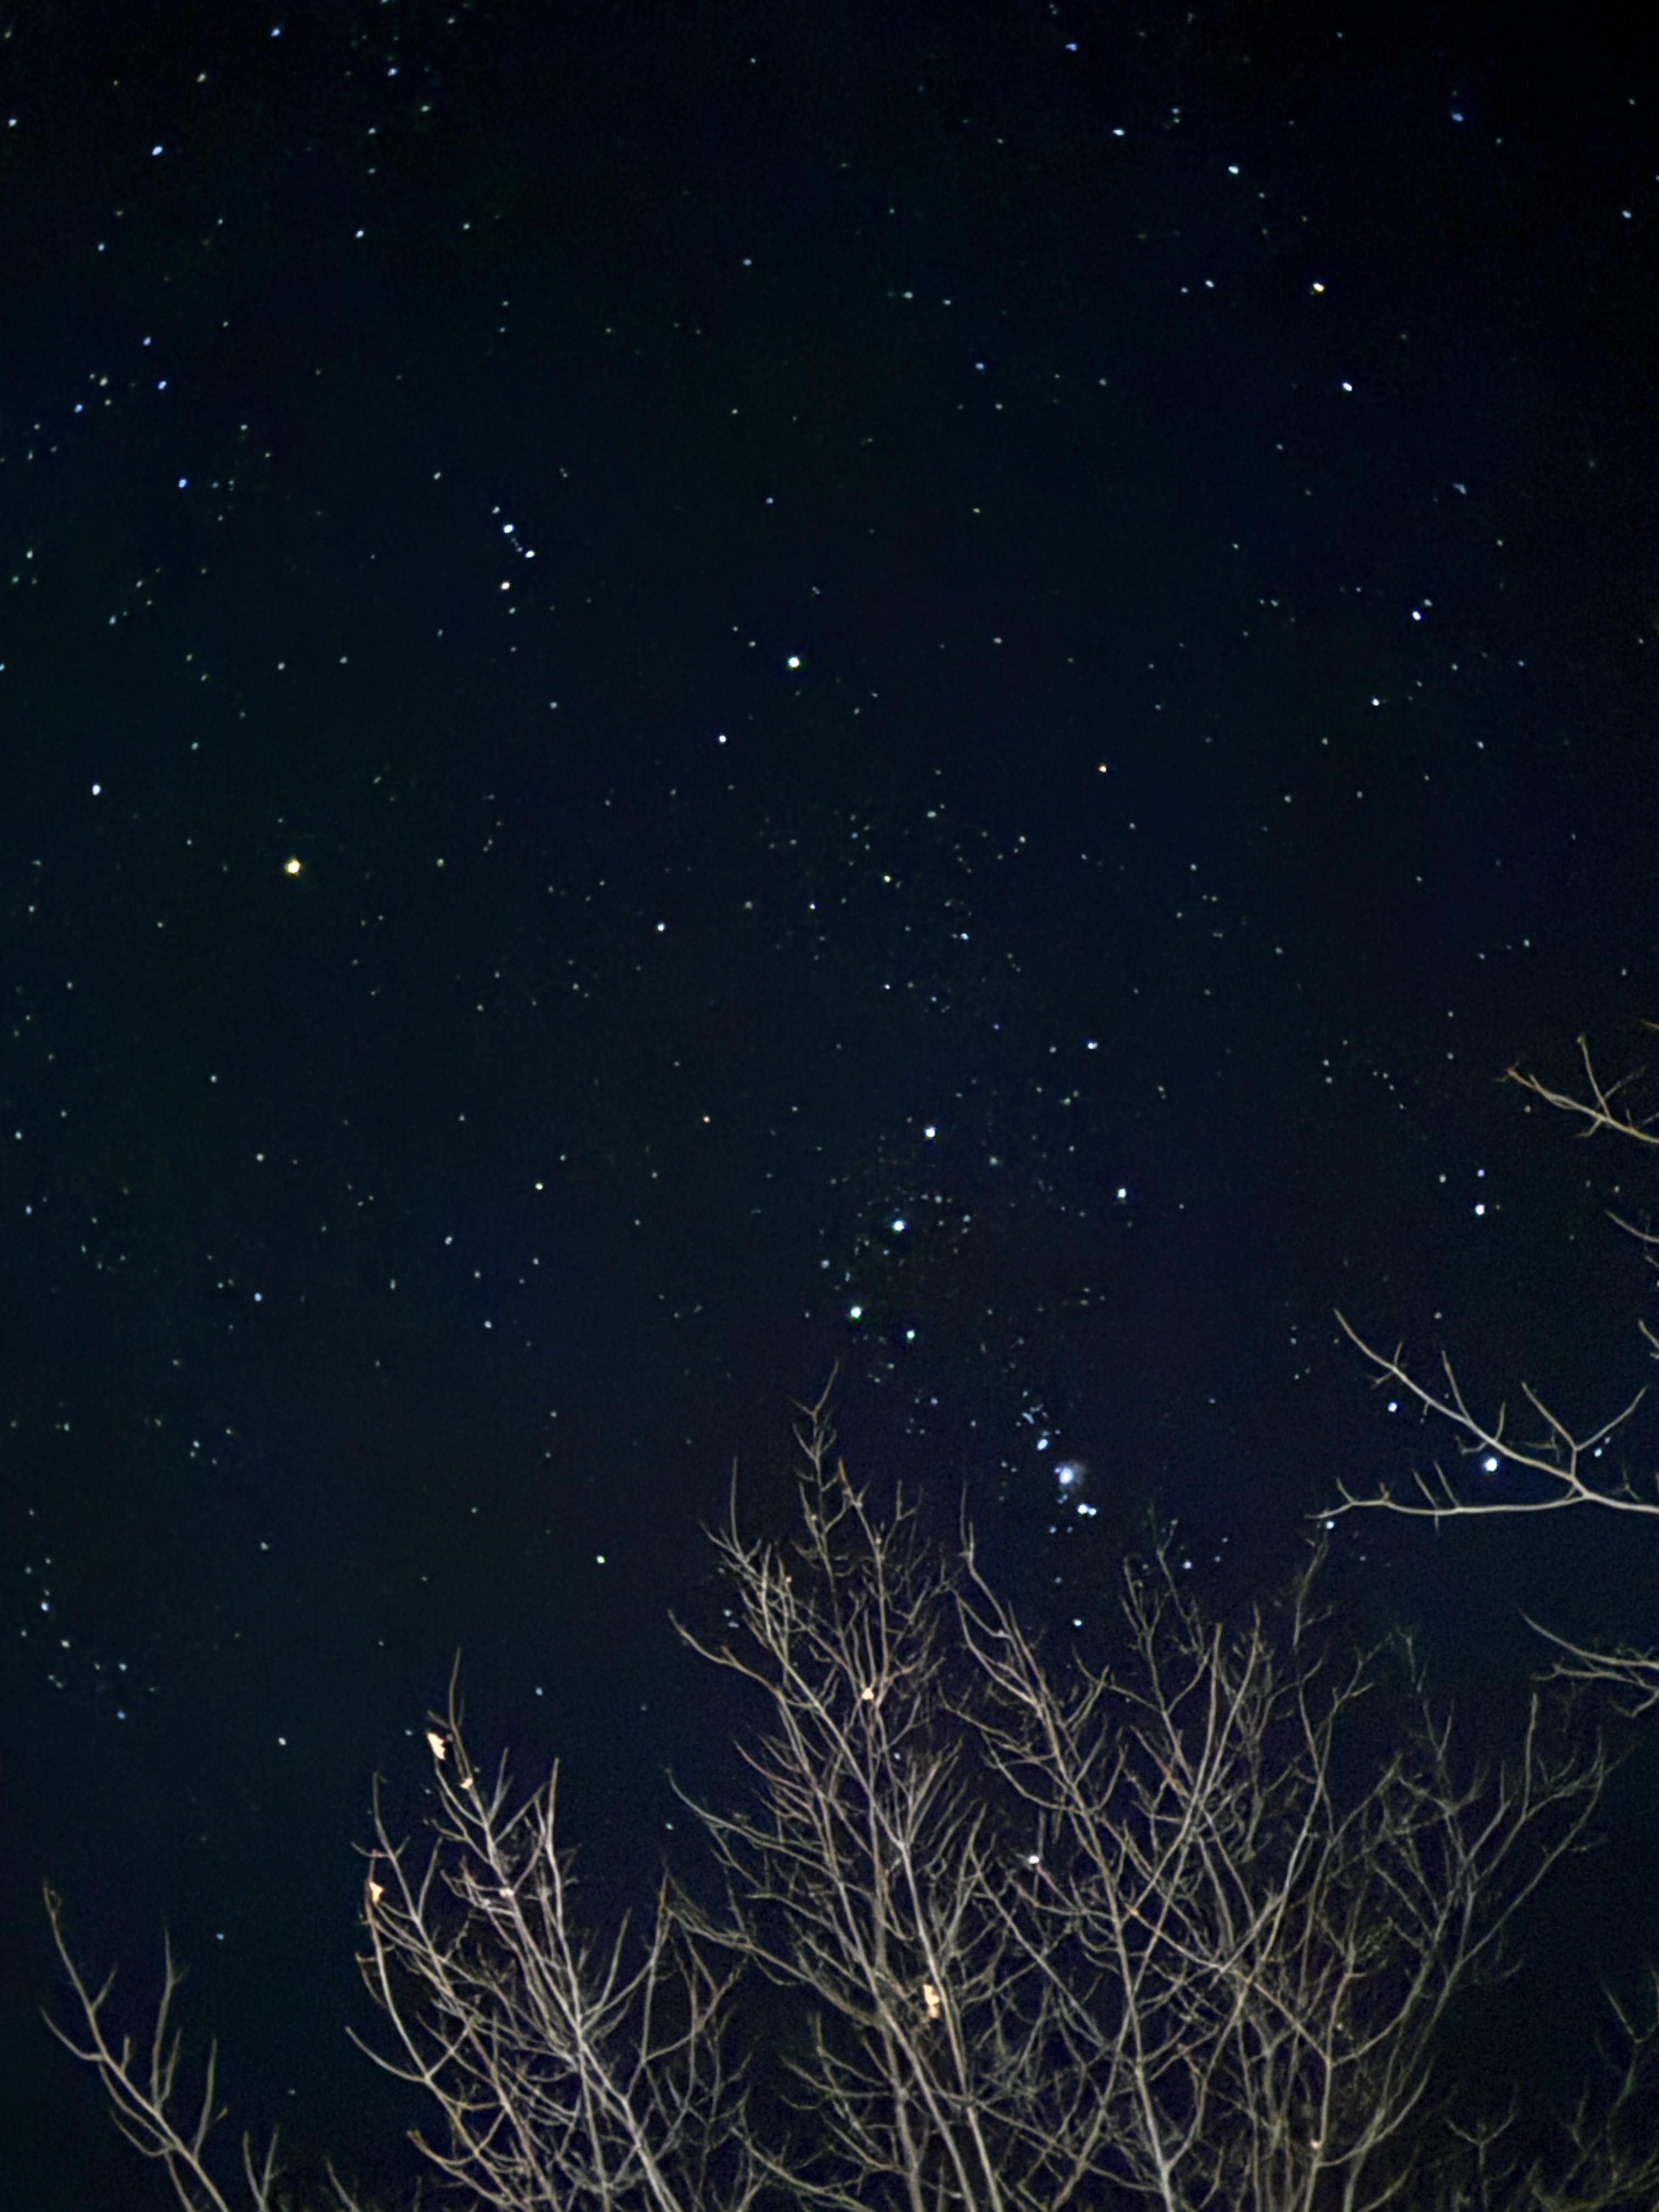
That’s it! It’s that easy. Next time you find yourself in a place where you *could* see the lights, use these tips for great pictures. I also use the long exposure on a clear night to catch the stars. The reason we don’t often see the colours with our naked eyes, except for really strong nights, is that we cannot replicate any type of long exposure the way our phones do! I’ve dropped some more pics below, from different locations that I found super cool. Also, the app I use to know when there is a chance to see the lights is called “aurora” in the app store, but there are a lot of other good ones too!
Thanks for reading! As always, drop your email to be updated about future posts from this lover of the outdoors!
